STEP 2:
setting up the lens #2


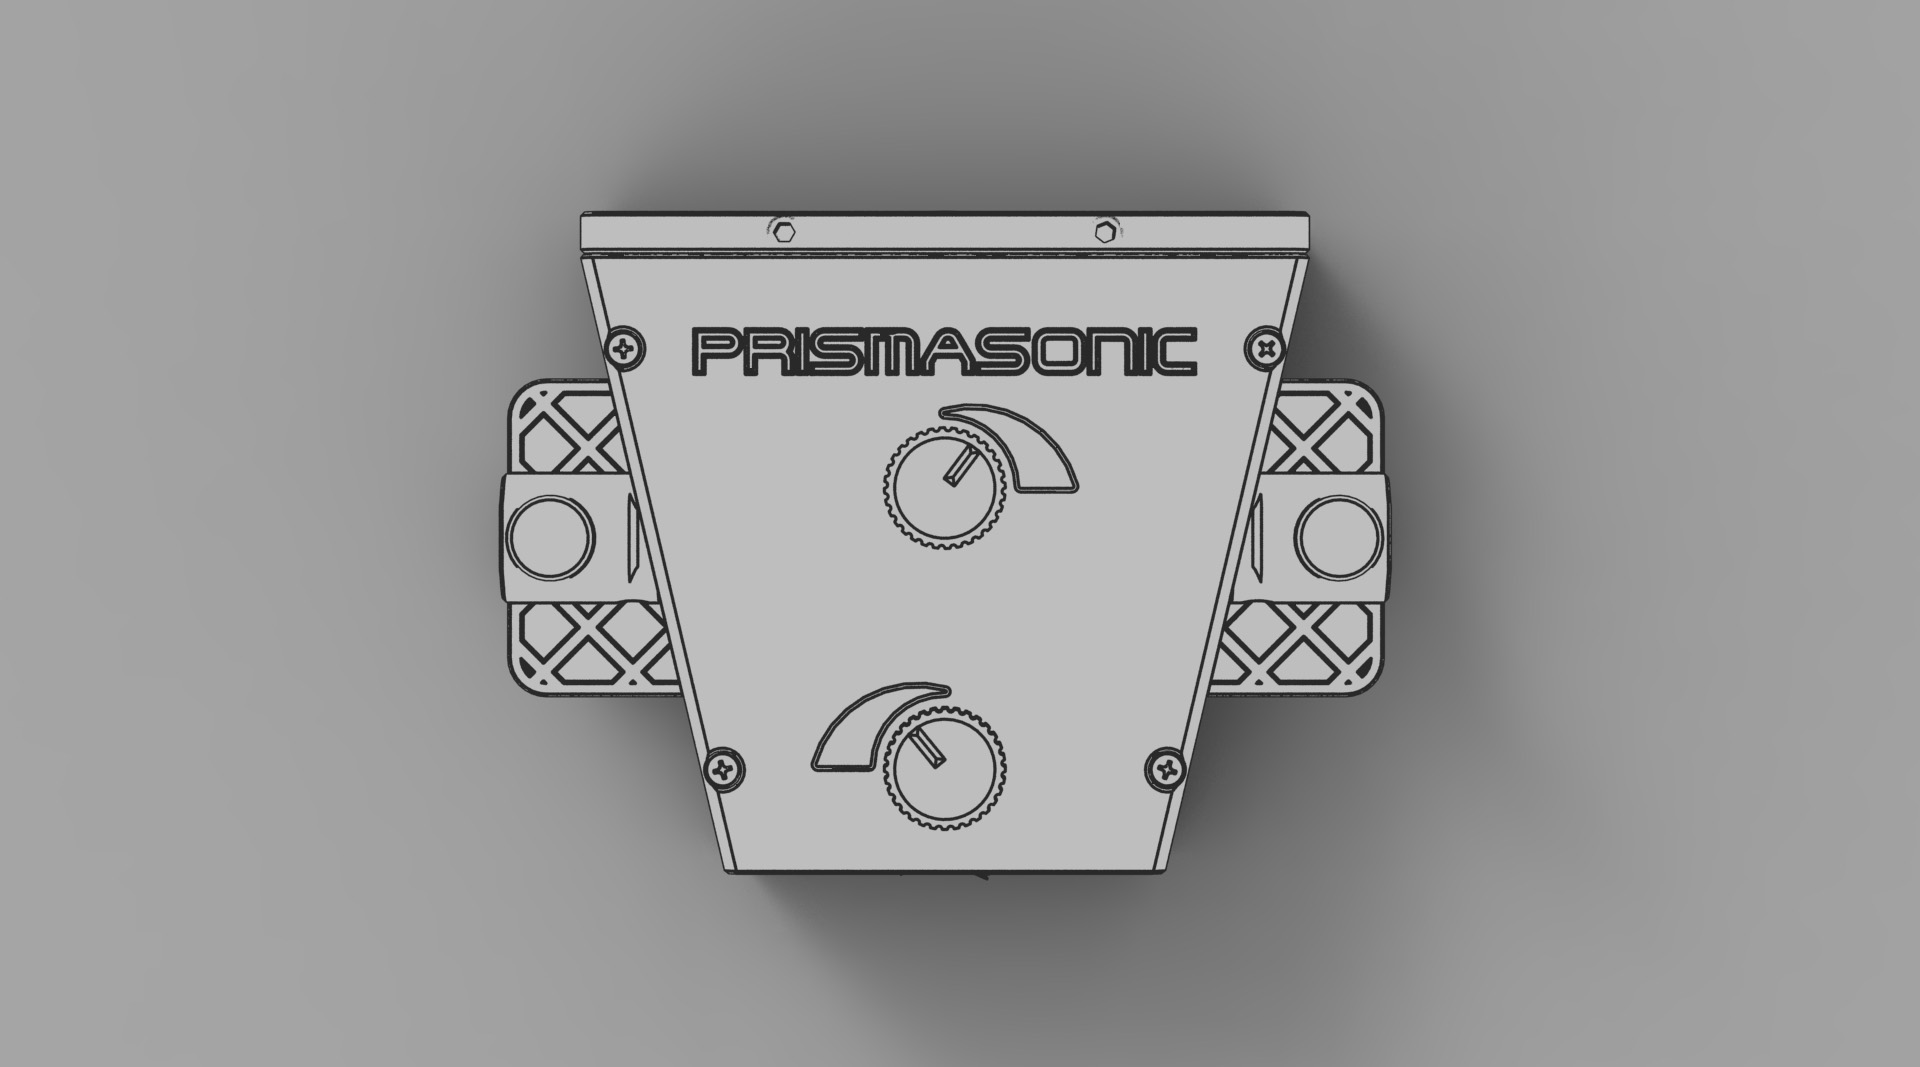
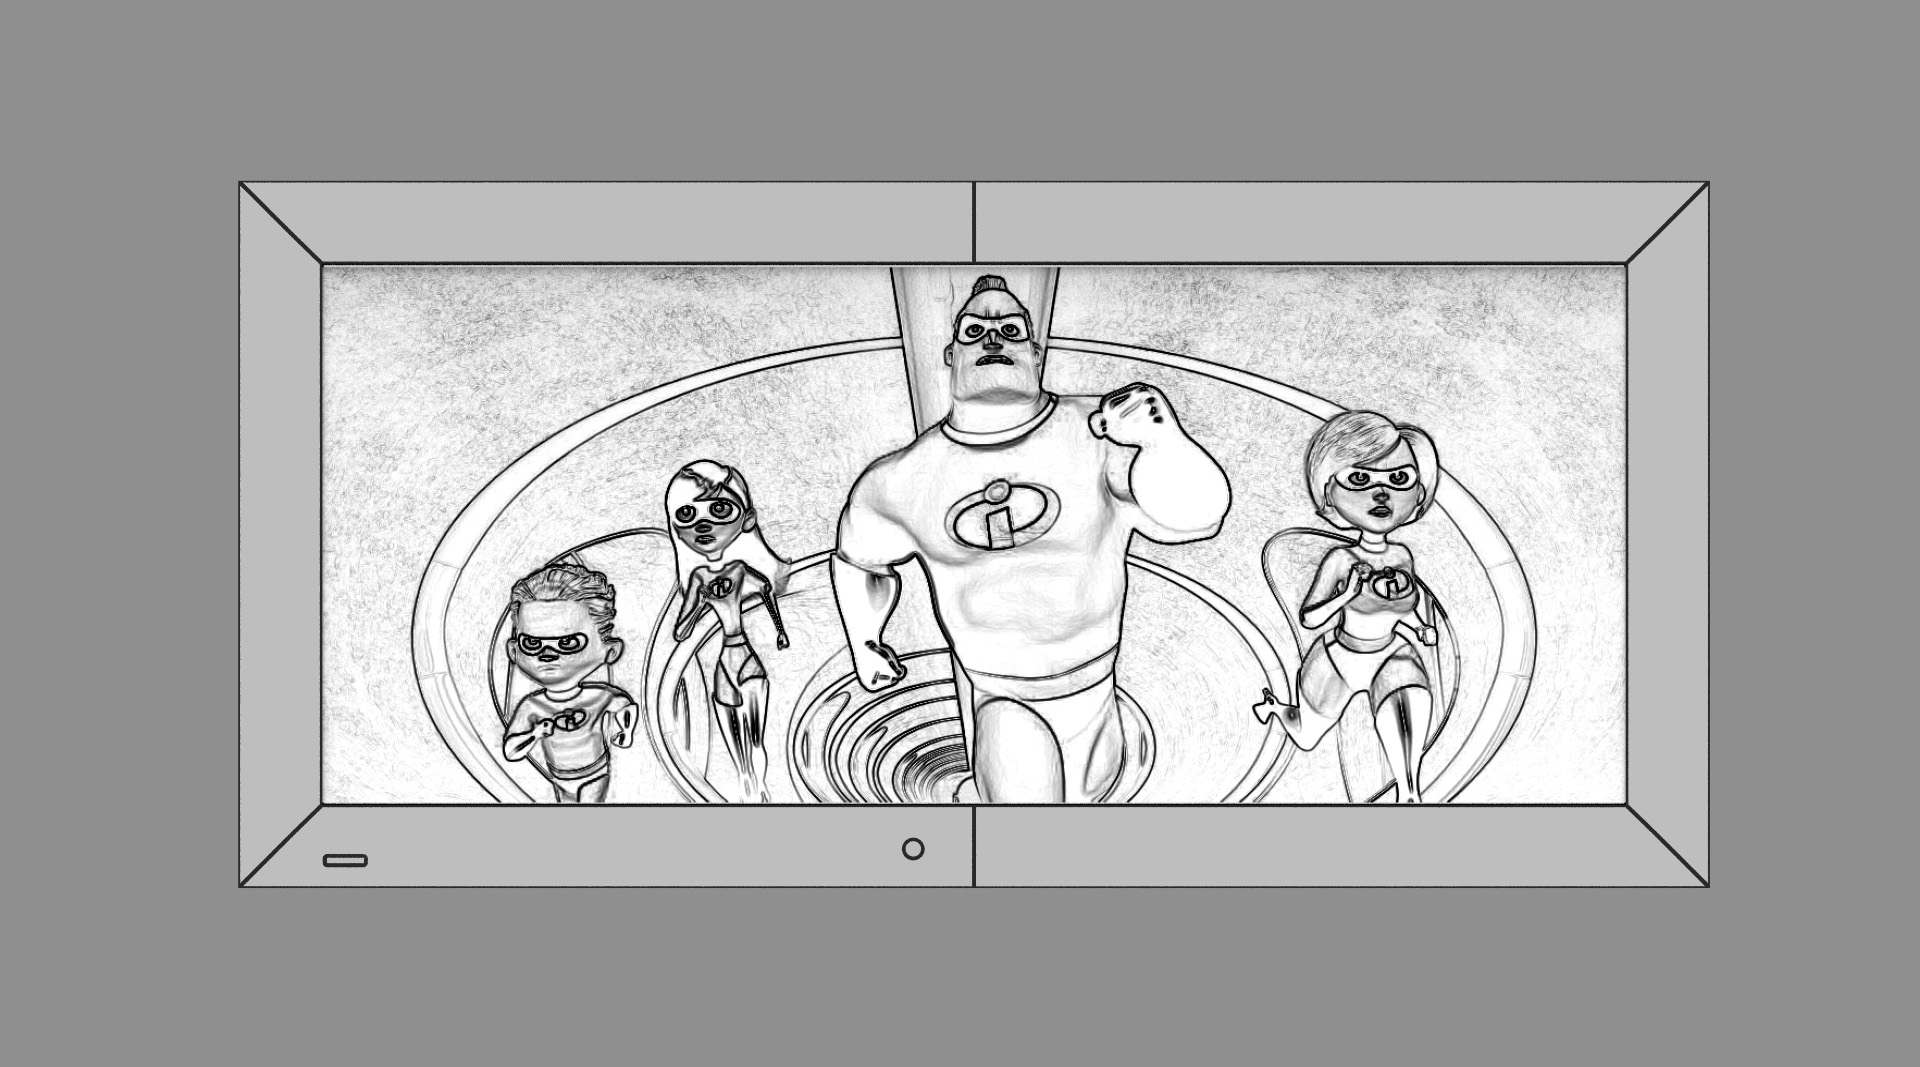
Turn the control knobs to expand the picture in both sides. The rear knob controls the right side and the front knob the left side of picture. When the both sides matches the screen edges, the correct position has been found. Once again, the picture has to be refocused by the projector.
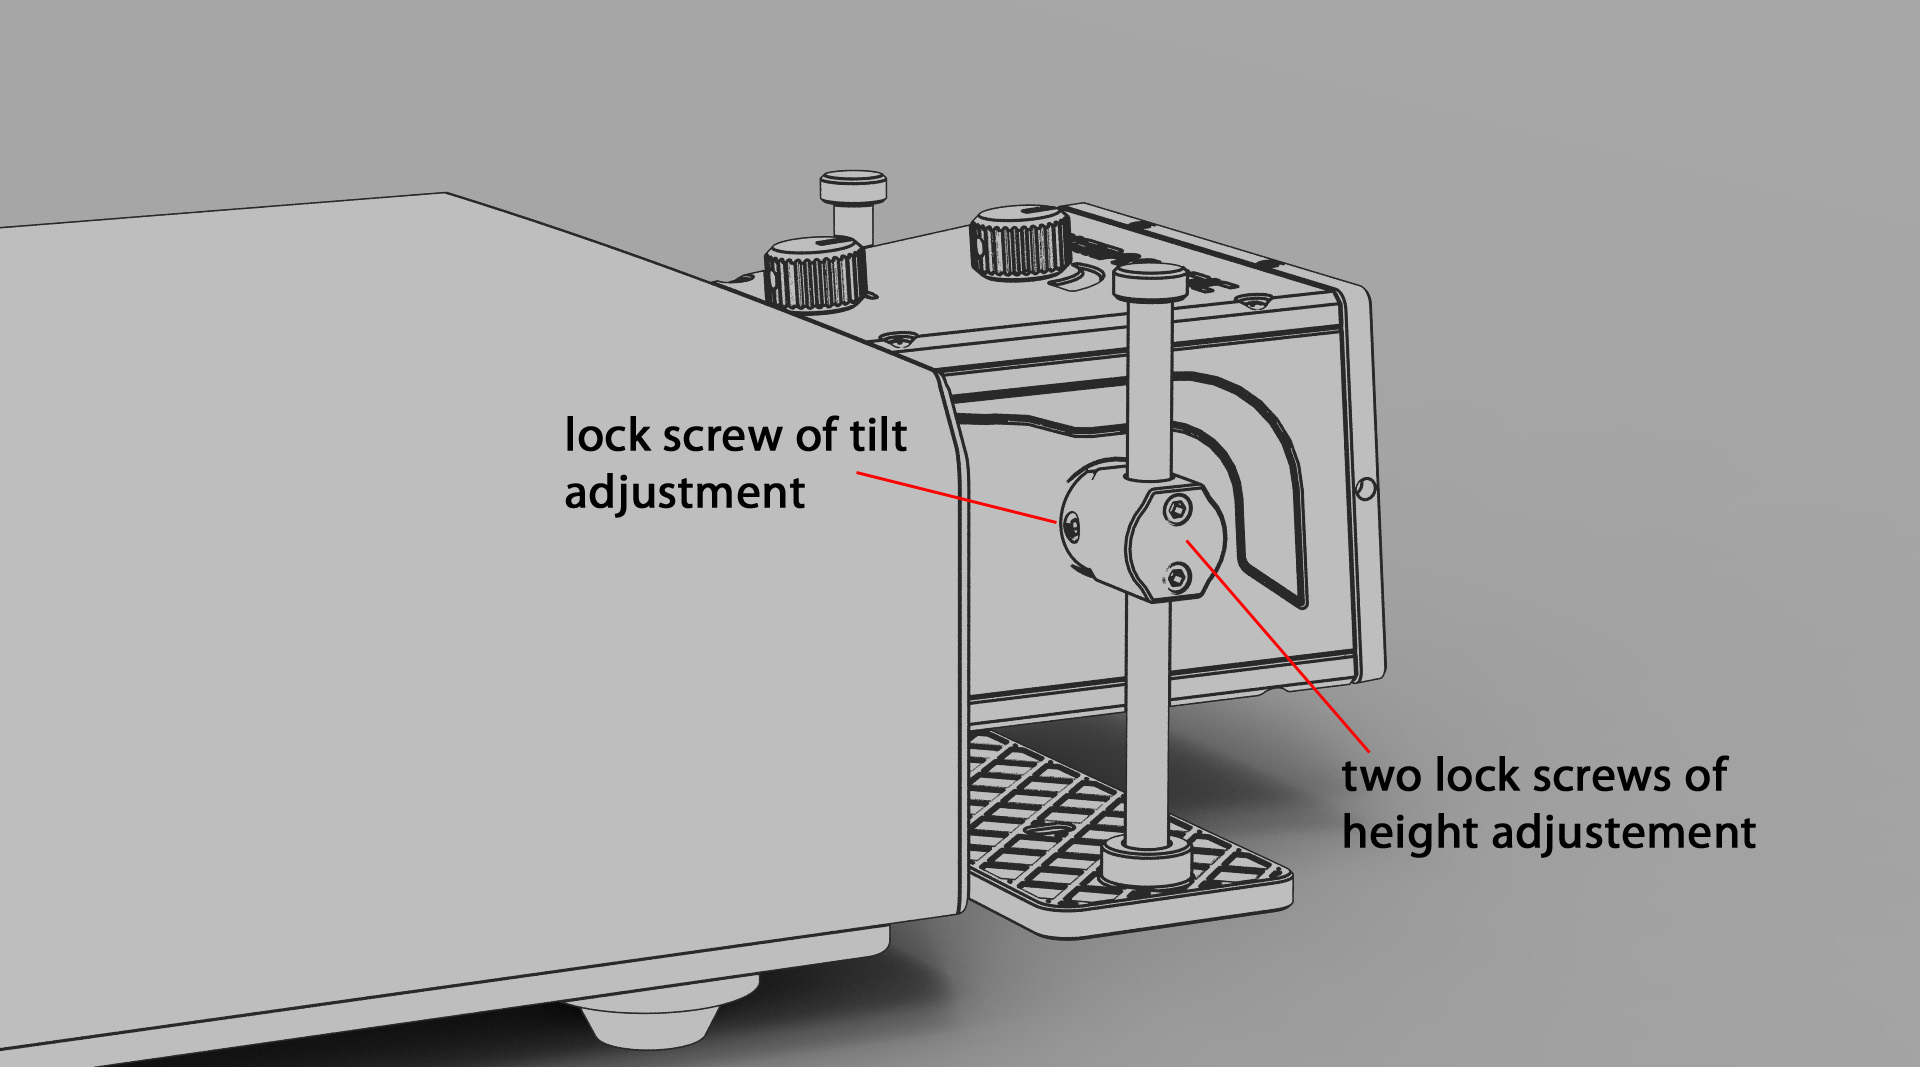
Depending on the throw ratio of the system, the picture geometry has now some amount of pincushion distortion. If the distortion is not even for both upper and lower edges, the tilt angle of the lens is tuned in order to find the sweet spot. The remaining distortion can be faded out by a slight picture over scan to the velvet frames, or by the use curved screen. Some projectors also have the electrical pincushion correction settings. If the picture still is asymmetrical and/or trapezoidal, lower or raise the lens only from other side of stand to make it symmetrical. The trapezoid shape can be corrected by the keystone setup of the projector.

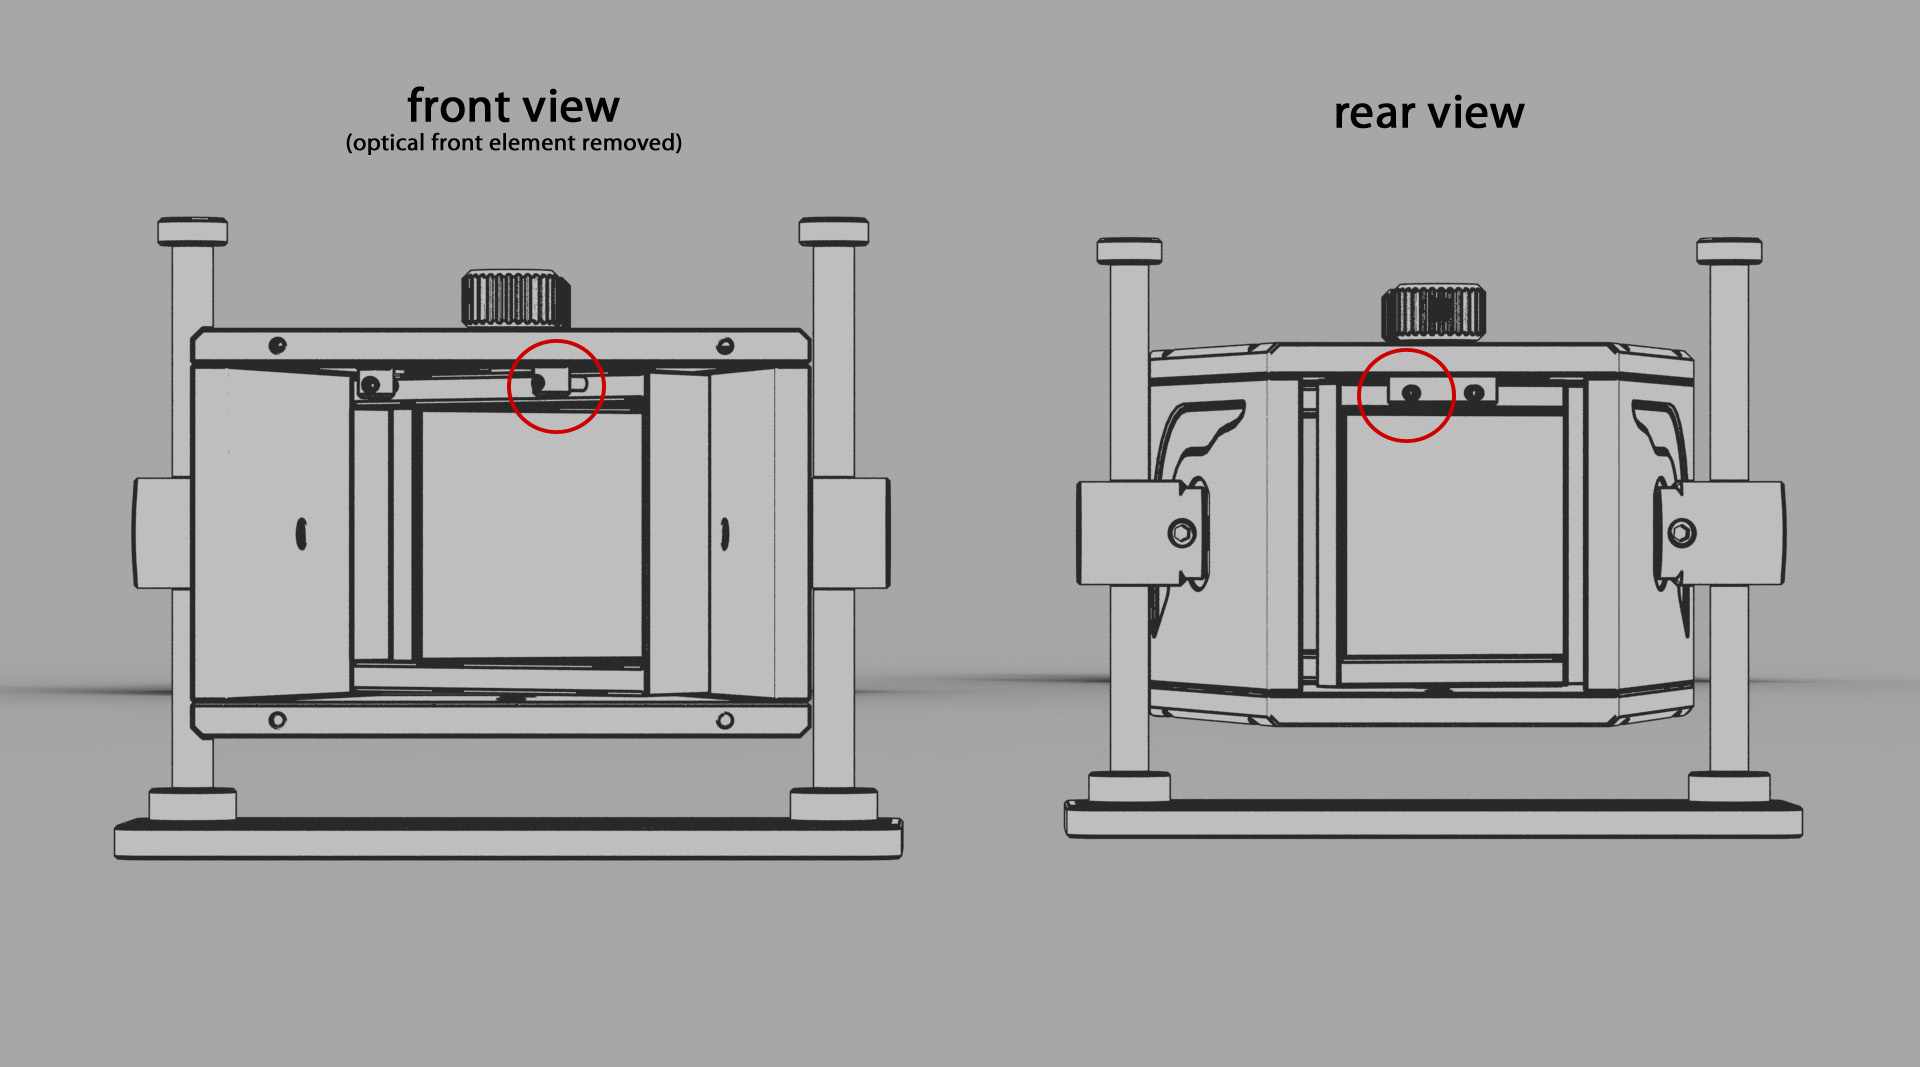
In case the picture cannot be adjusted wide enough, the further tuning of horizontal expansion can be accomplished by adjusting the set screws inside the lens. The tuning is done with the set screws to where the prisms stop after turning the knobs to the wide position (marked with red circles in the picture). Opening the screws release the prisms to rotate further, thus allowing the picture to expand more from both sides. Closing the screws make the sides less wide. The optical front element has to be temporarily removed when adjusting the movement of the large prism. The front optics module is removed by releasing the four crosshead screws in front by using the cross head screw driver. In order to avoid damages in parts, do not use the electrical tools, or too much force in tightening the screws.

After all the adjustments have been completed, tighten the set screws of stand sliders securely by L-wrench. Again, in order to avoid damages in parts, do not use the electrical tools or too much force in tightening the screws.